
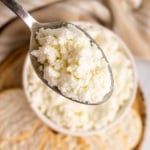
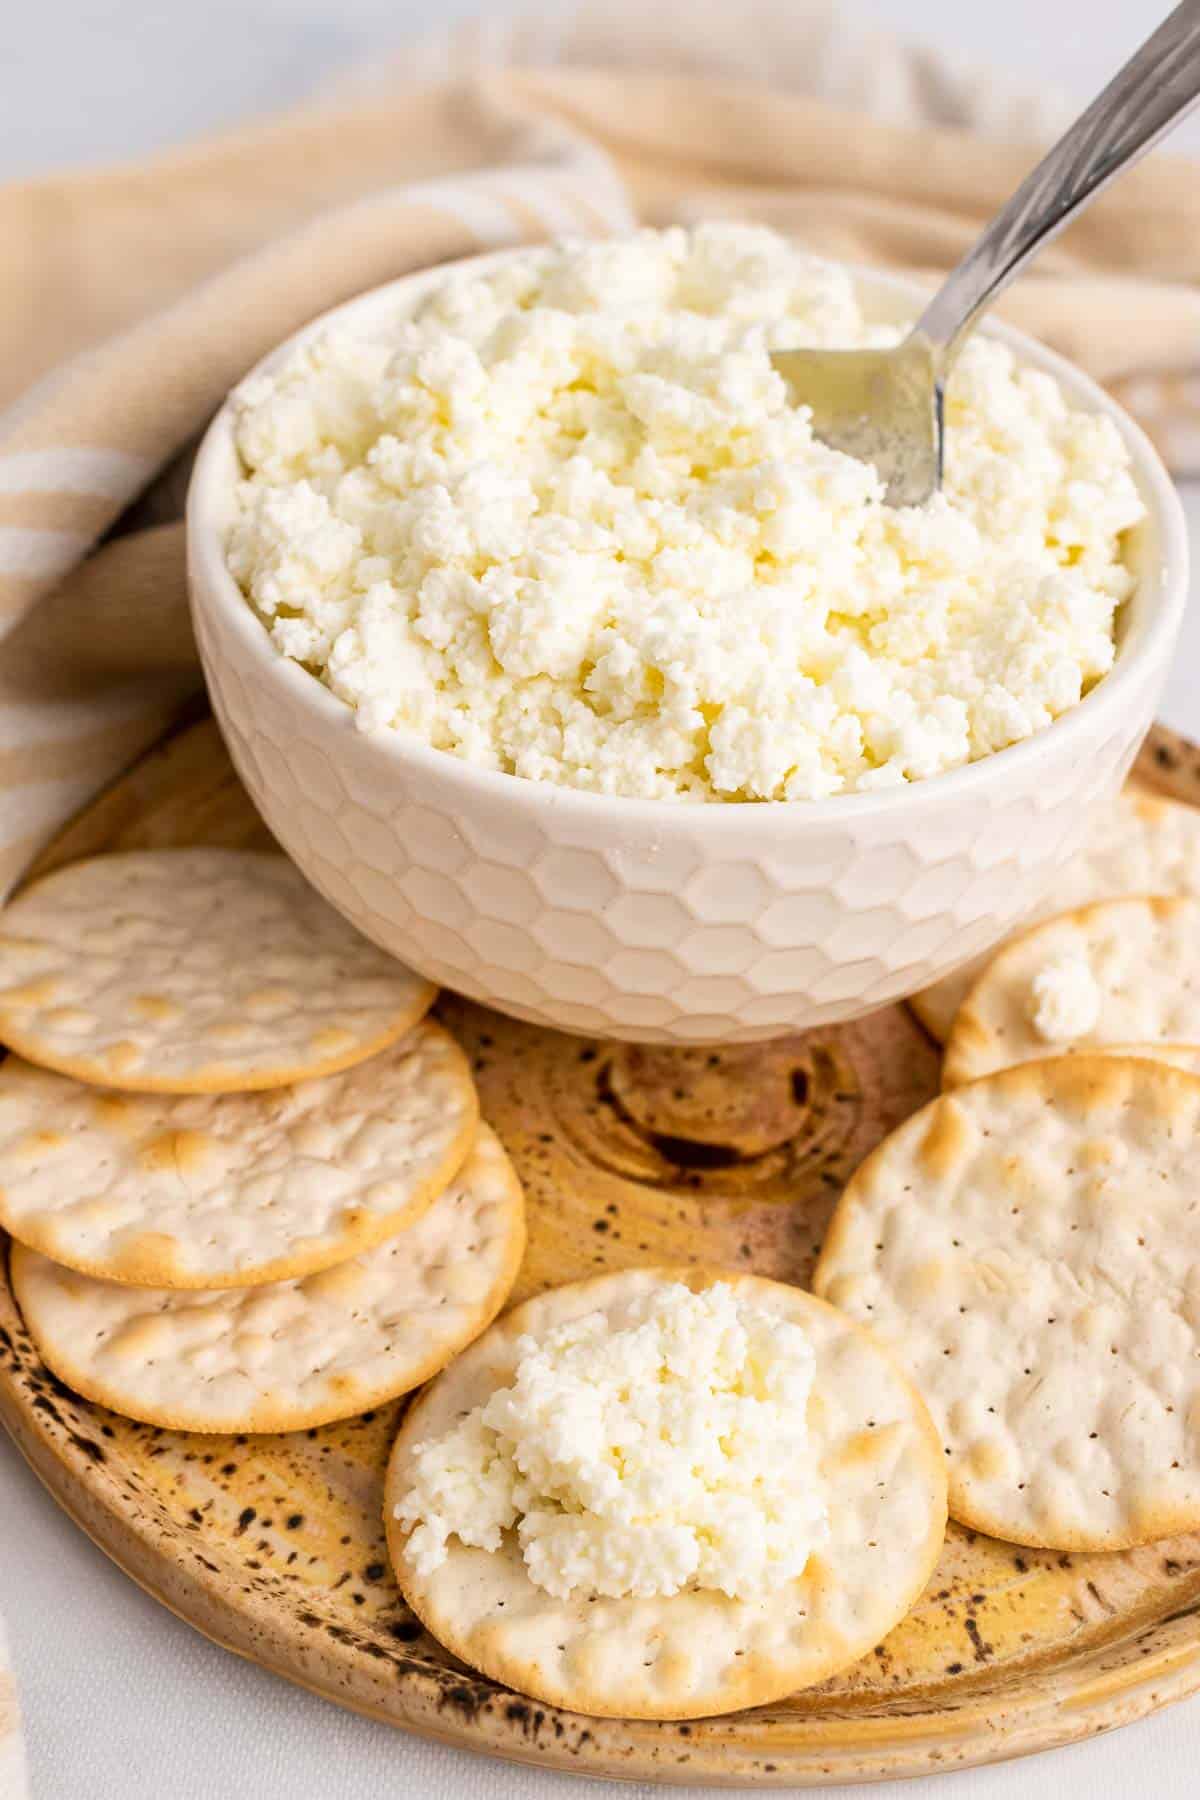
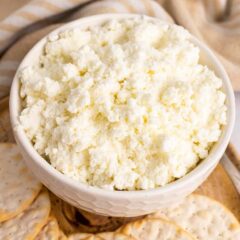
This homemade ricotta cheese is so easy to make and unlike anything you could find in the store! The rich crumbles are perfect for salad or ricotta crème desserts.
Have you ever tried making your own ricotta cheese? If not, you may be surprised by how easy it is. And you only need two ingredients!
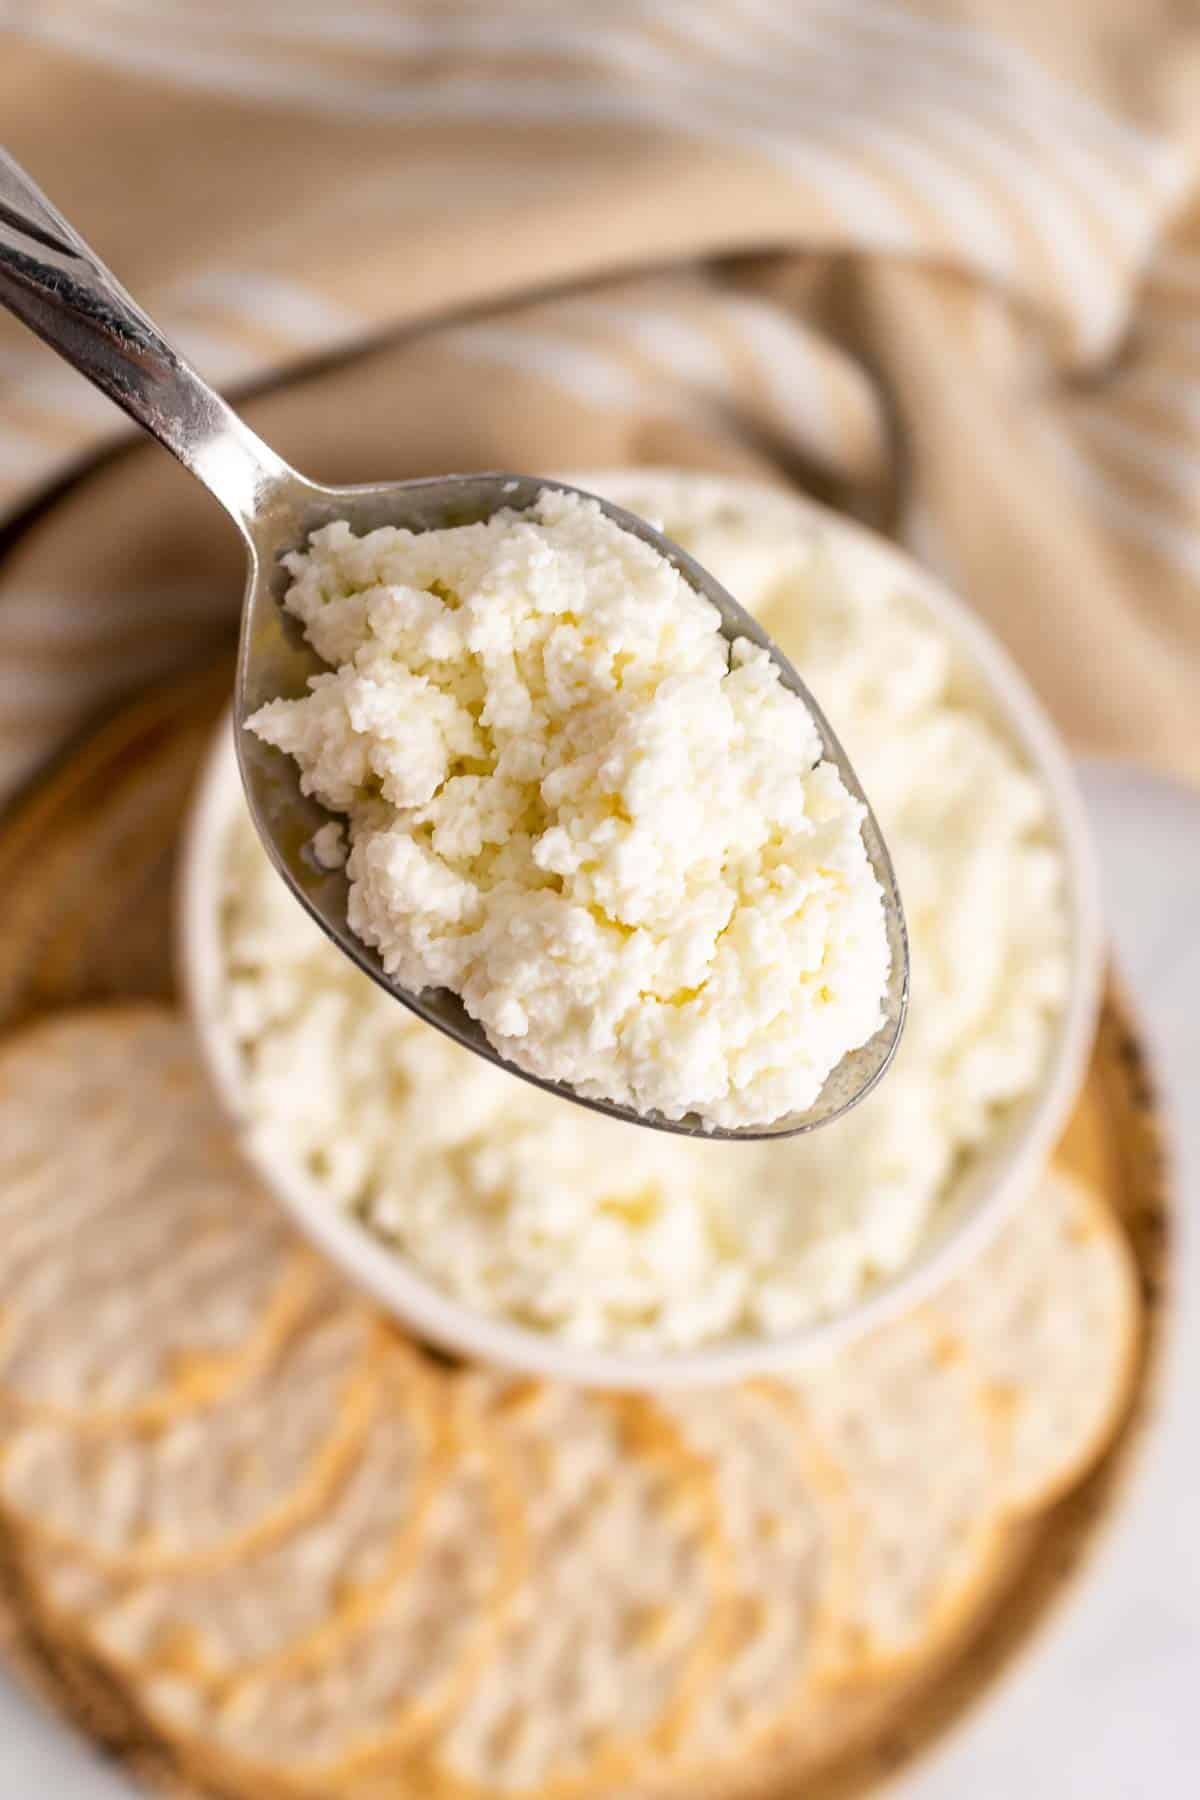
The cheese is unlike anything you’ll find in stores. Instead of a chunky, soupy mixture, homemade ricotta is crumbly, dry, and so perfect for salads or a ricotta-based crème dessert
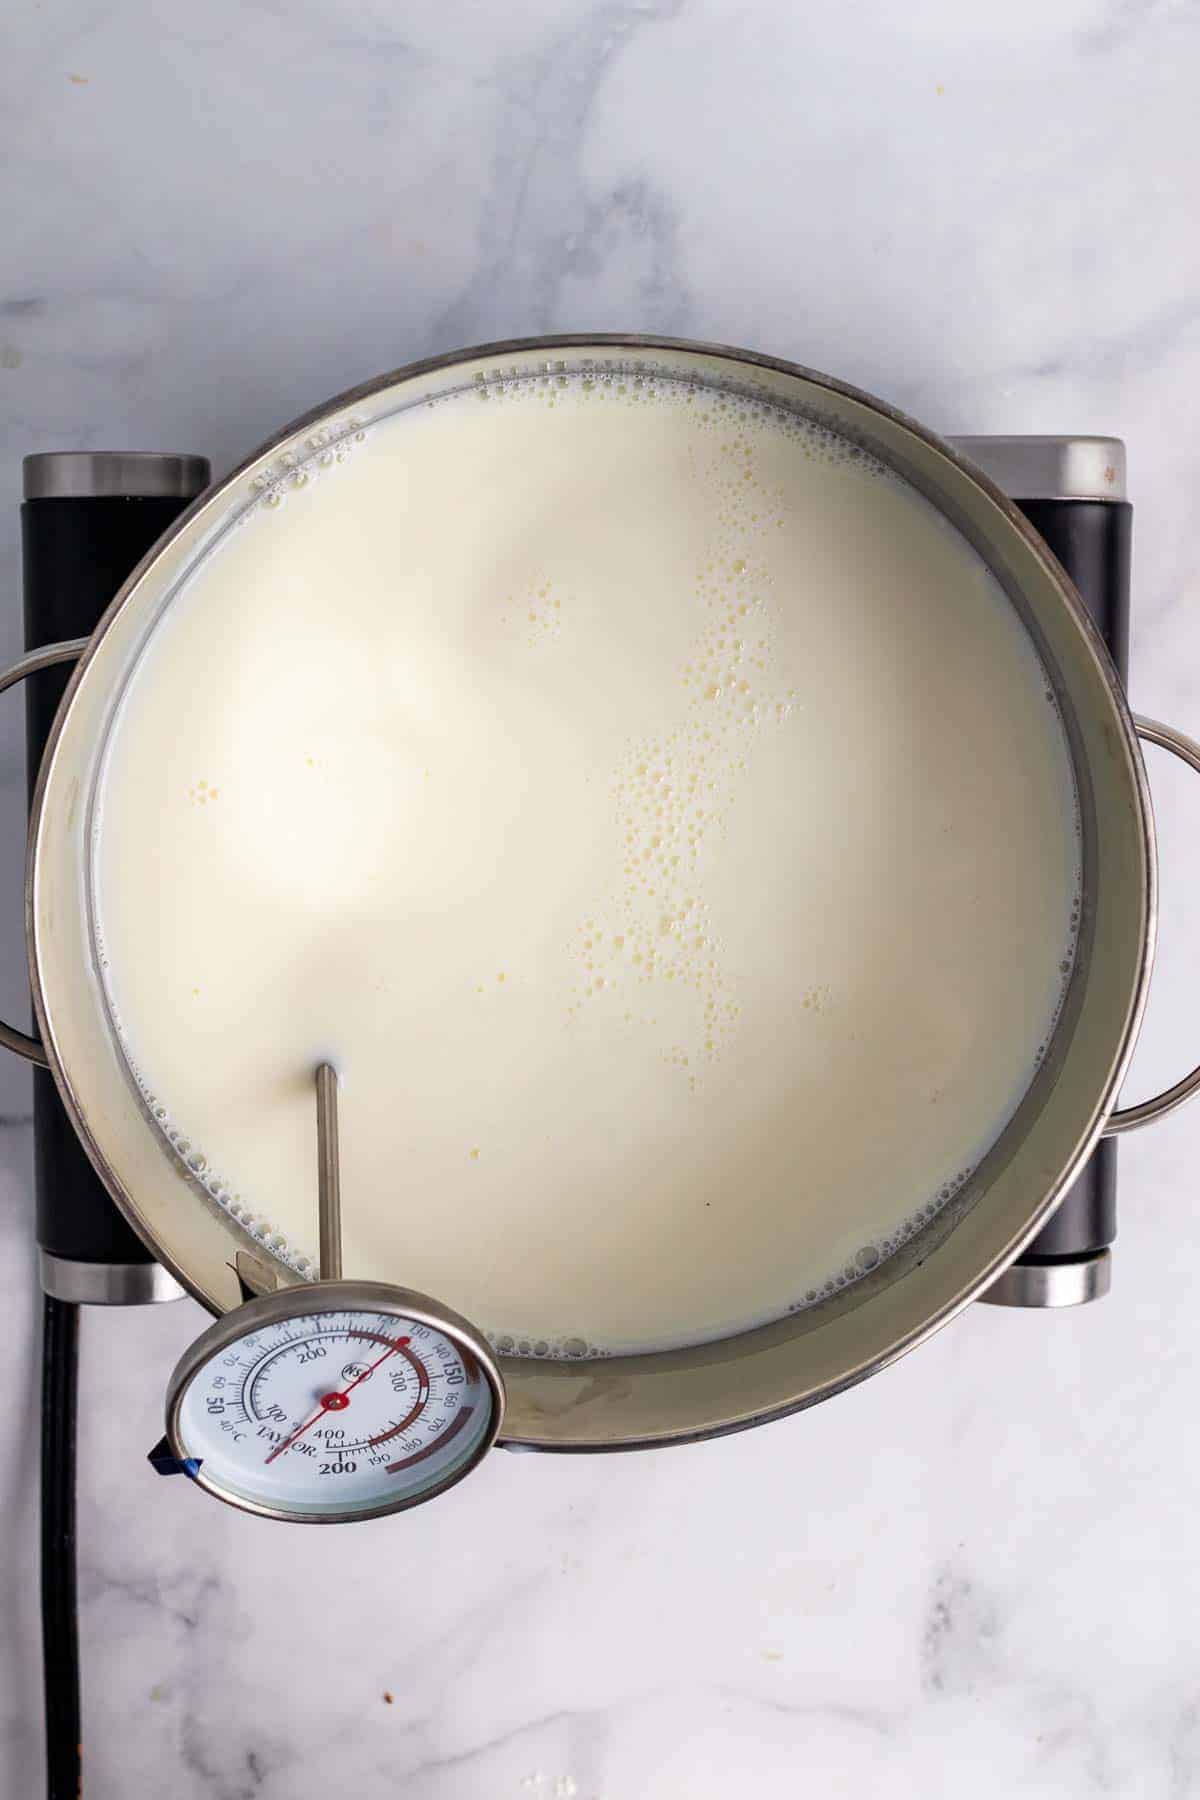
The only equipment you need is a candy thermometer to monitor the temperature while cooking and cheesecloth to drain the curds. You can get one for less than $10 on Amazon.
The process itself is very simple, so you could be enjoying some homemade ricotta in no time!
How to make ricotta cheese
Ready to impress your friends and family by making your own ricotta right at home?
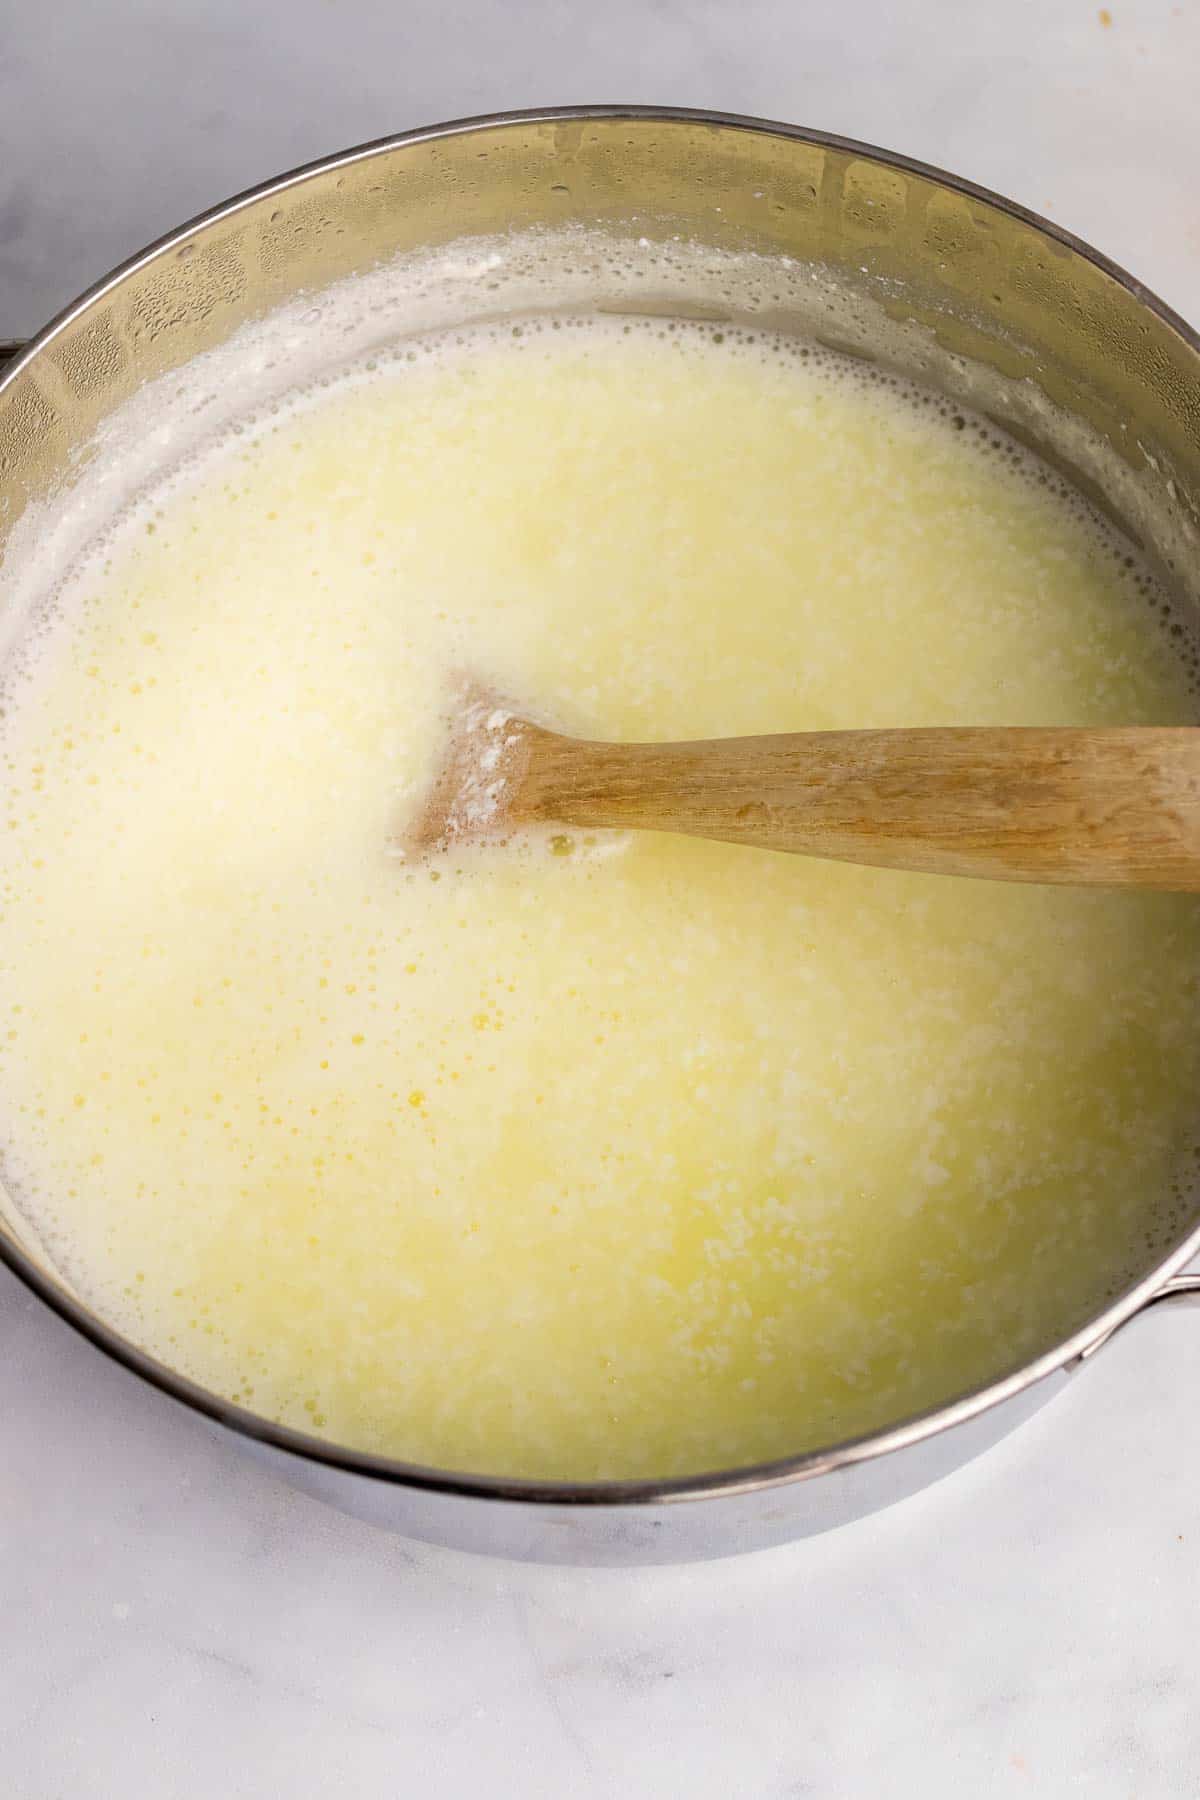
Step 1: Combine the milk and buttermilk in a large, heavy pot over high heat. Attach the candy thermometer to the side of the pot and stir occasionally as the mixture heats.
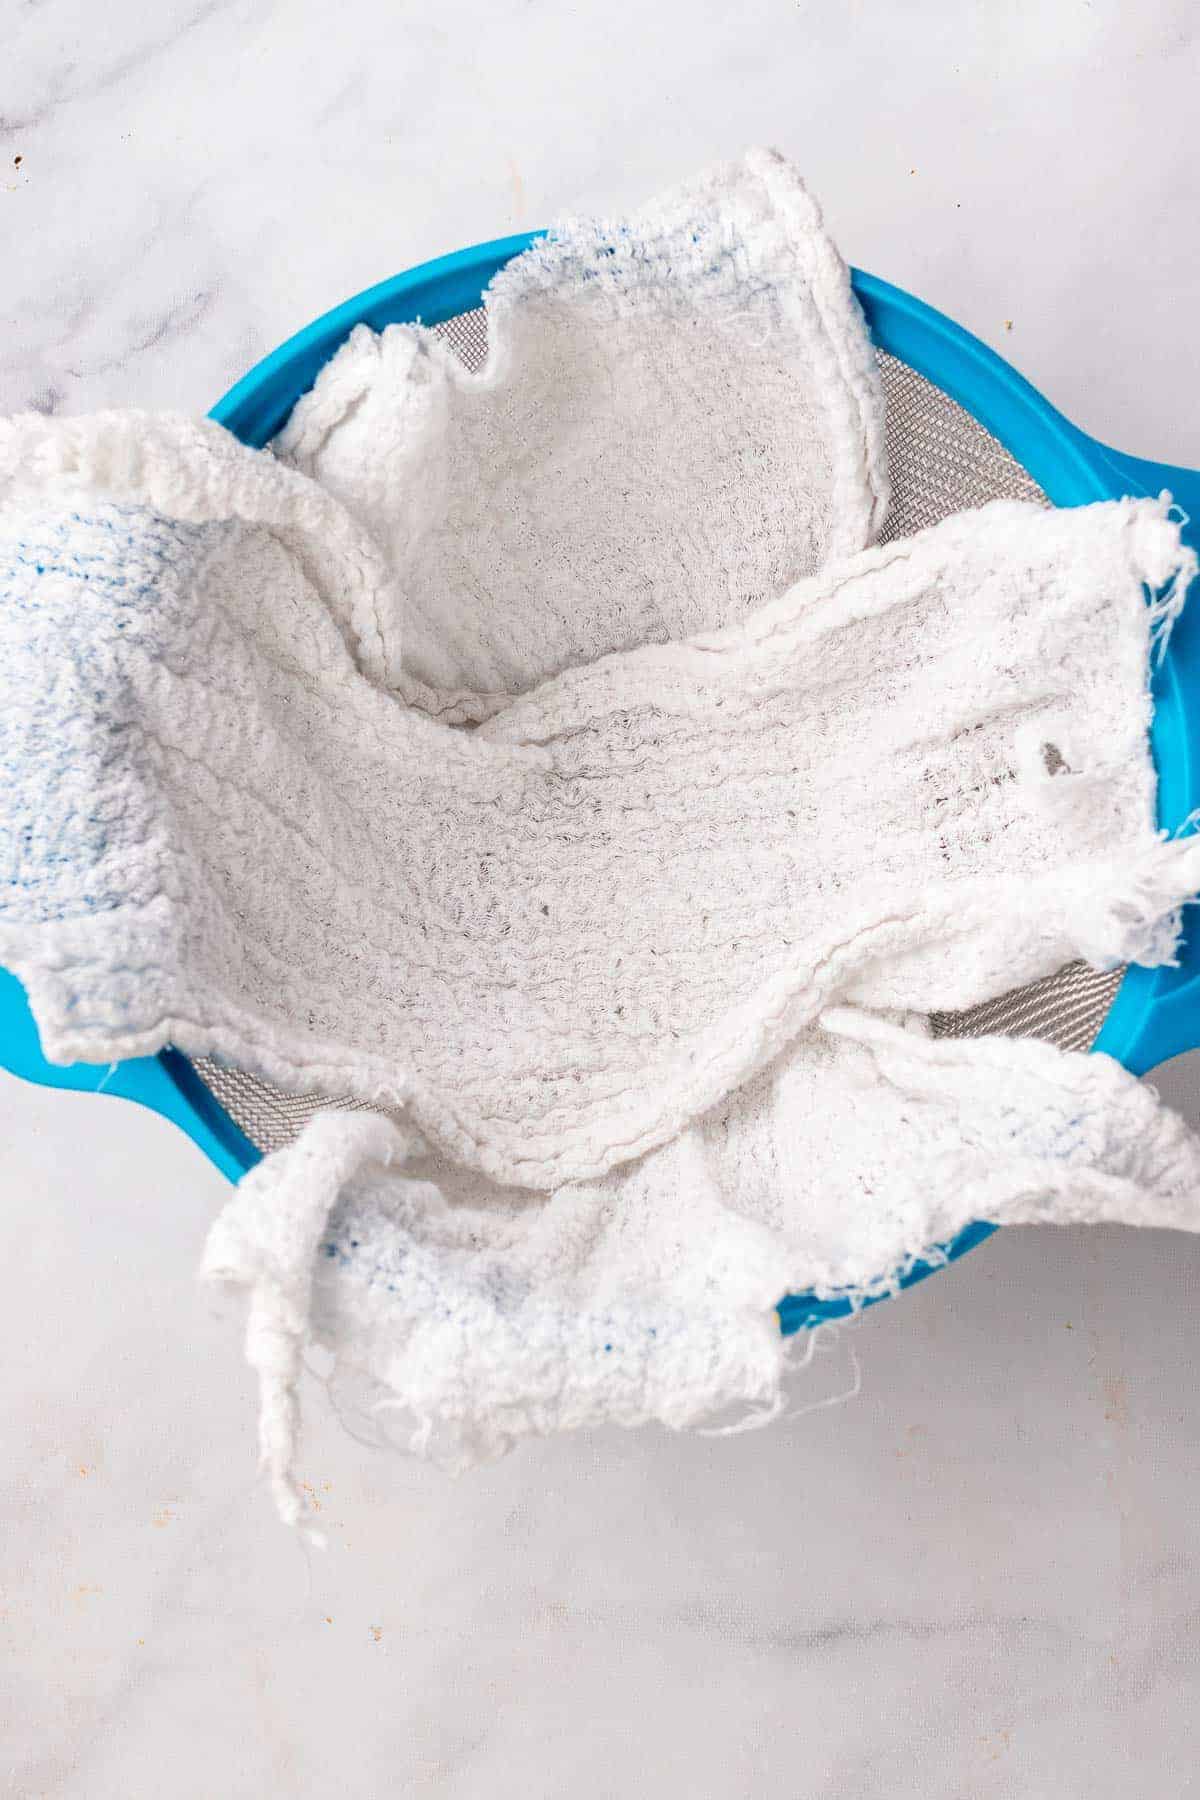
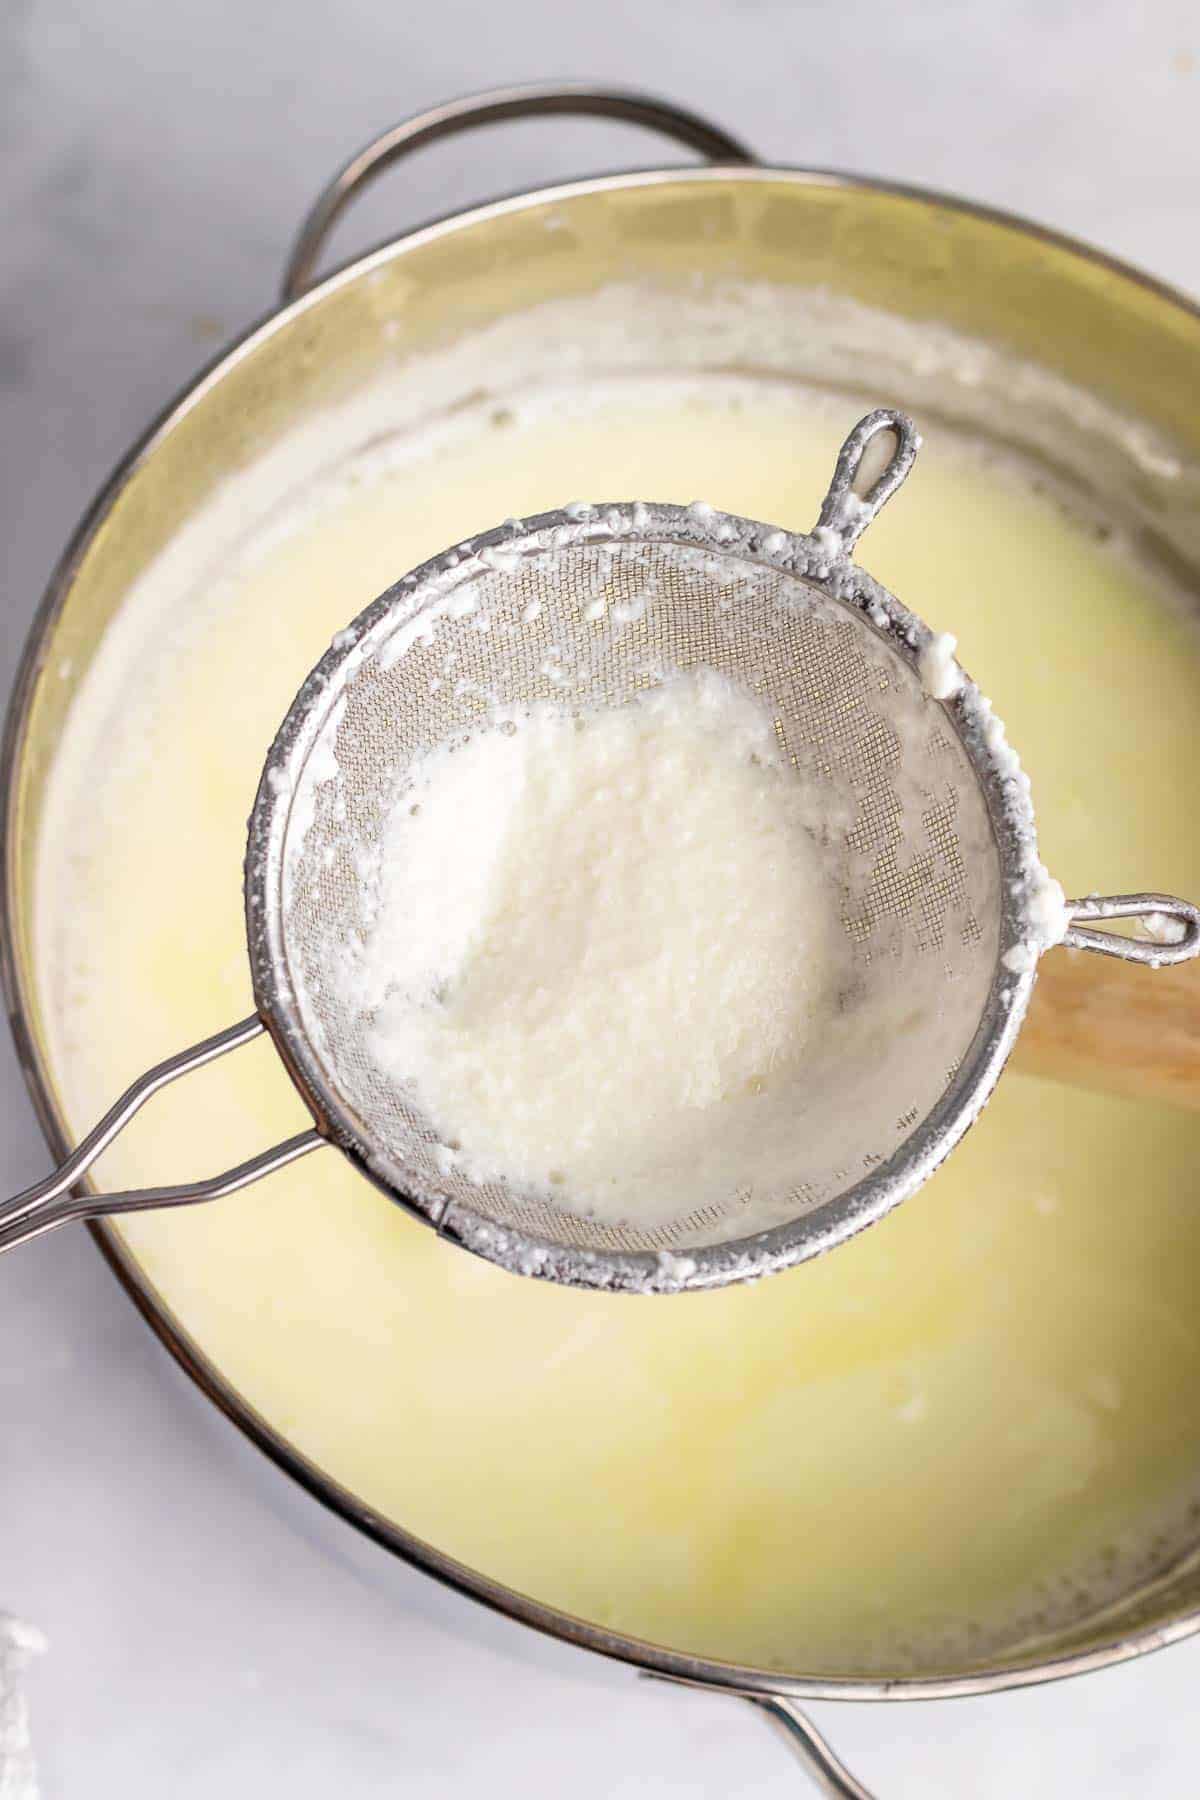
Step 2: Line a colander with 3-4 layers of cheesecloth, allowing overhang, and place the colander in the sink.
Step 3: When the mixture in the pot reaches about 140°F, small clumps (curds) will begin to form. Once this starts to happen, you will need to stir almost constantly from this point on.
Step 4: At about 175°F to 180°F, the curds will separate from the liquid (whey) and float to the top. When this happens, remove from heat.
Step 5: Using a skimmer or large slotted spoon, transfer the solid curds to the colander.
Step 6: Gather the cheesecloth around the ricotta and lift. You want to drain some of the excess liquid without squeezing all of it out.

Step 7: Return the cheese to the colander and let it rest for about 20 minutes at room temperature.
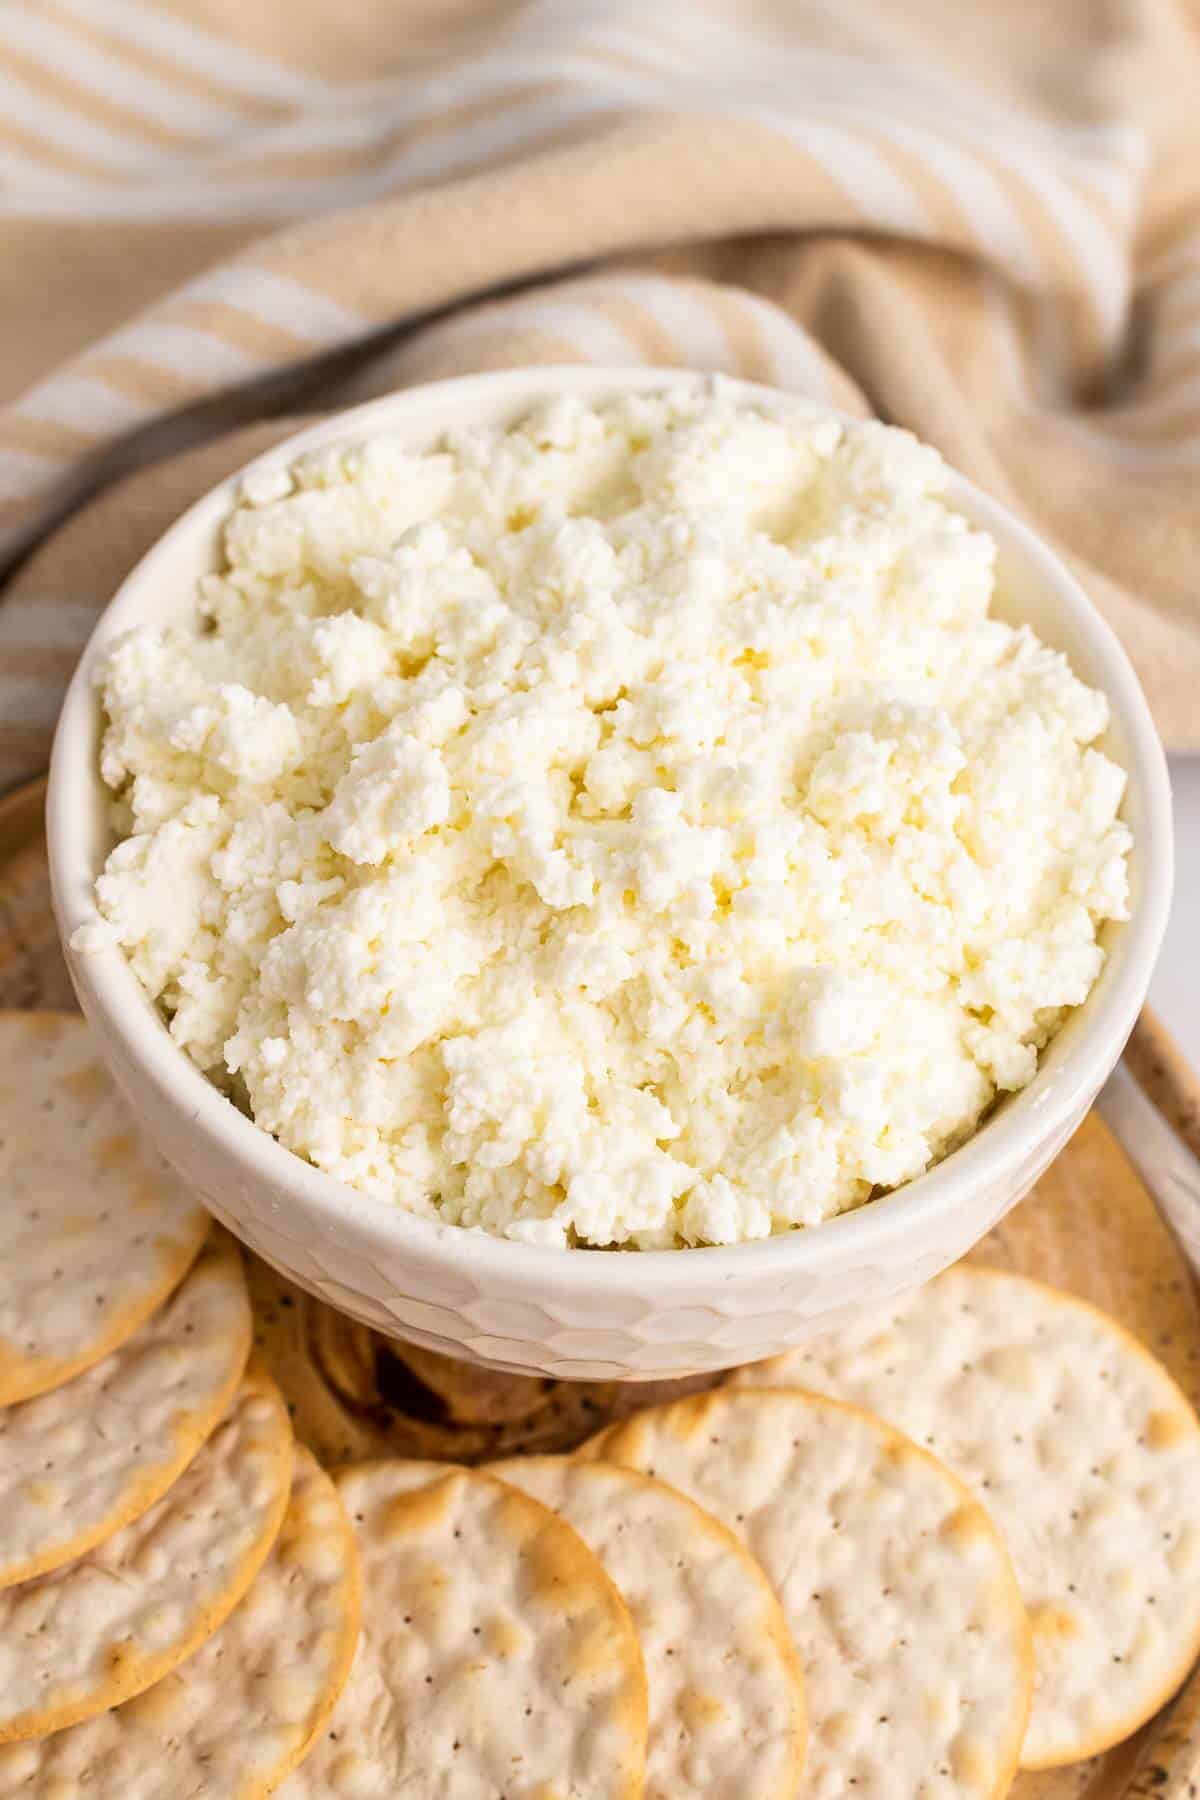
Step 8: Transfer the cheese to a small bowl, removing the cheesecloth. Sprinkle with salt and mix gently.
Step 9: Cover and chill until cold, at least 2 hours.
Your ricotta is ready to enjoy! Who ever thought it could be so simple?
Nutrition in homemade ricotta
In full disclosure, I had a difficult time determining the nutritional content of the ricotta. There’s a decent amount of whey that gets left behind after the cheesemaking, but it’s impossible to measure exactly how much.
I plugged the ingredients I used into NutritionData.com and reported the results below, but these are rough estimates at best. They will include extra calories, fat, and protein that are removed with the whey.
Whole milk vs 1% milk
When I came across a homemade ricotta recipe that used whole milk, I decided to try making it with 1% milk to reduce the fat content.
I made one batch of ricotta with whole milk and a second batch with 1% milk to compare the results. In both cases, I used whole buttermilk as well.
The whole milk produced a richer cheese than the 1% milk did, but it didn’t have a significantly better taste or texture. The primary difference between the two was in yield – the whole milk produced more curds and, therefore, more cheese.
As I mentioned above, the nutrition was difficult to calculate, but the whole milk version has approximately a third more calories, twice as much fat, and twice as much cholesterol.
So I definitely prefer to make the 1% version!
Storage
Your ricotta should be stored covered in the refrigerator to maintain freshness.
Make sure to use it within 4-5 days.
Other healthy snack recipes
It’s amazing how many dishes you can make right at home to save money and cut out unnecessary added ingredients or fillers!
Here are a few more recipes to inspire you:
When you’ve tried this homemade ricotta cheese, please don’t forget to let me know how you liked it and rate the recipe in the comments below!
Homemade Ricotta Cheese
Ingredients
- 8 cups 1% milk, (or whole milk)
- 2 cups buttermilk
Instructions
- Combine the milk and buttermilk in a large, heavy pot over high heat. Attach the candy thermometer to the side of pot and stir occasionally as the mixture heats.8 cups 1% milk, 2 cups buttermilk
- Line a colander with 3-4 layers of cheesecloth, allowing overhang, and place the colander in the sink.
- When the mixture in the pot reaches about 140°F, small clumps (curds) will begin to form. Once this starts to happen, you will need to stir almost constantly from this point on.
- At about 175°F to 180°F, the curds will separate from the liquid (whey) and float to the top. When this happens, remove from heat.
- Using a skimmer or large slotted spoon, transfer the solid curds to the colander.
- Gather the cheesecloth around the ricotta and lift. You want to drain some of the excess liquid without squeezing all of it out.
- Return the cheese to the colander and let it rest for about 20 minutes at room temperature.
- Transfer the cheese to a small bowl, removing the cheesecloth. Sprinkle with salt and mix gently.
- Cover and chill until cold, at least 2 hours.